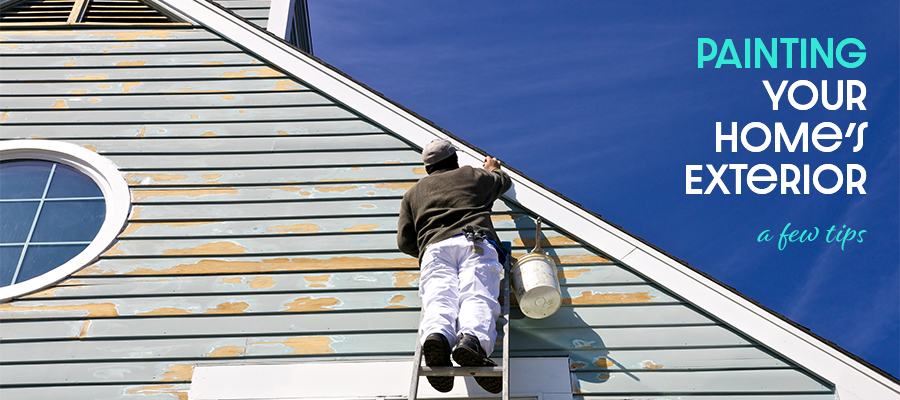
For many homeowners, painting the exterior of their homes seems like a very daunting task, one best left to the professionals. However, with the proper materials, plenty of preparation, you can paint your home as well as a pro, saving money in process.
Getting Started
Before you get started, you’ll need to estimate how much paint you’ll need for such an undertaking. To do so, measure the length of all exterior sides of the house, then multiply the length of all the sides by the height of the house. Be sure to add two feet to the height for overhang. Don’t worry about subtracting the area of the doors and windows as the extra paint can be used for touch-ups.
Take the measurements to the paint store. Paint cans will display what’s known as “coverage rate”, which will tell you how much surface area the can will cover. Now, divide the total square footage of the house by the coverage rate on the paint can you’ve selected.
Choosing a Paint Color & Finish
Choosing a color is the fun part. One thing to keep in mind is that many housing developments will have restrictions on the colors you can paint the exterior. You might want to find out if your development has such restrictions before choosing a color. Once you determined that, choose a hue that suits you. But, keep a few things in mind:
- Think about the details that won’t change, such as the roofing, stonework, and driveways. Make sure the colors don’t clash.
- Do you want the home to stand out from its landscaping or blend in?
- Lighter colors will give a small house the illusion of a larger house, so will painting the trim the same color as the exterior.
- Lighter colors are a better choice for warmer climates, as they absorb less heat. Darker hues will work well for cold climates as they help absorb heat.
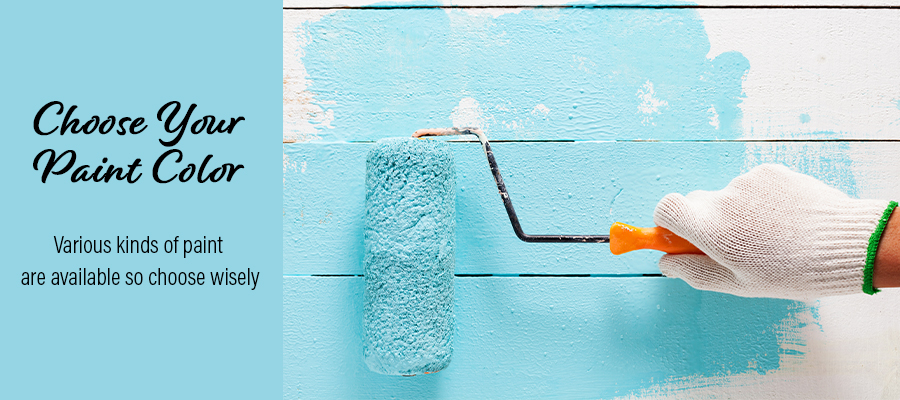
Various kinds of paint are available on the market, so choose wisely:
- Gloss exterior acrylic enamel is usually used on smooth surfaces. The high sheen will accentuate any imperfections.
- Satin exterior acrylic latex will provide excellent coverage. Another advantage is that it doesn’t attract dirt and dust like other paints might.
- Flat exterior acrylic latex is the most used exterior paint thanks to its good coverage, reasonable price, and versatility. It’s also less likely to show imperfections than gloss paints.
- Semi-gloss exterior acrylic latex is mostly for doors, gutters, and window trims because it is easy to wash and is resistant to stains.
- Solvent-based paints are the most versatile of the lot. It provides ease of application in a variety of temperatures and humidities.
Once you’ve chosen the paint color and the type, you’re ready to start your project. You’ll need brushes, rollers, sprayers. Brushes have different bristle types for different jobs. For example, nylon or polyester brushes will work well with latex paints while natural brushes tend to do better with oil-based paints. Rollers are a perfect choice if you have a lot of area to cover, and they work well on siding. Don’t get a thin, flimsy roller — be sure to buy a thicker-rolled fiber roller. It’s a bit more expensive, but worth the increase in price. Sprayers are typically for outdoor use, and if you want to save time, can be worth trying out.
You might want to add these tools to your list: Wide-with masking tape, various scrapers of different sizes, and a utility knife. Overshoot on the paint, because any left over paint can be used for touch-ups in the future. And, if any cans are left unused and unopened, they can be returned.
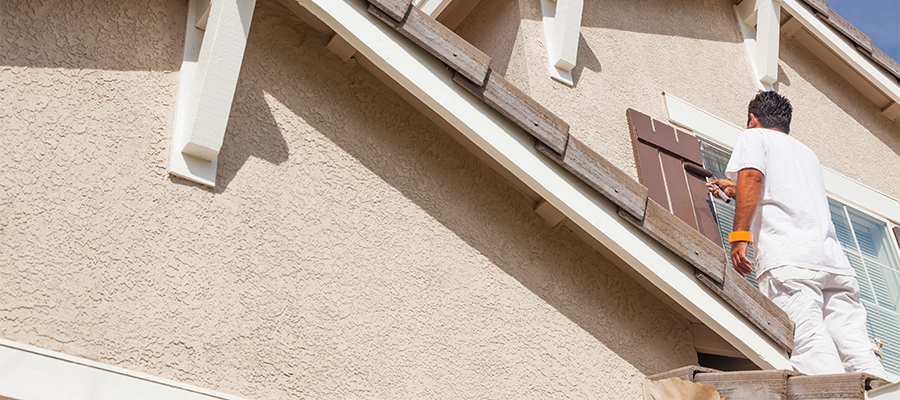
Let's Start Painting
Now that you have your materials gathered, it’s time to get started with surface preparation. Proper preparation will prevent problems like cracking and peeling. This will all determine how long your paint job will last.
First, scrape any loose paint until most of the surface below is exposed. Next, use sandpaper to smooth the surface. Finally, use a pressure washer with a commercial cleaning solution to wash the surface of the house and rinse thoroughly. Let dry at least 24 hours before painting.
Priming the surface before painting is done for any of the following reasons:
- If the surface is shiny, slick, or hard to paint, the primer will provide something for the topcoat to adhere to.
- Fill and seal pores on bare wood or weathered masonry.
- Cover stains from water or sap damage.
- Make metal surfaces corrosion resistant.
- Provide previously unpainted surfaces with better adhesion and coverage.
After covering your windows, doors, and trim with masking tape and newspaper, you’re ready to start painting. Take your time and make sure the job is done thoroughly. This will add value to your home, slow any deterioration, and give yourself a sense of accomplishment on top of it!
Looking for more home improvements? Feel free to contact me anytime!